New Face Stencils!!!!
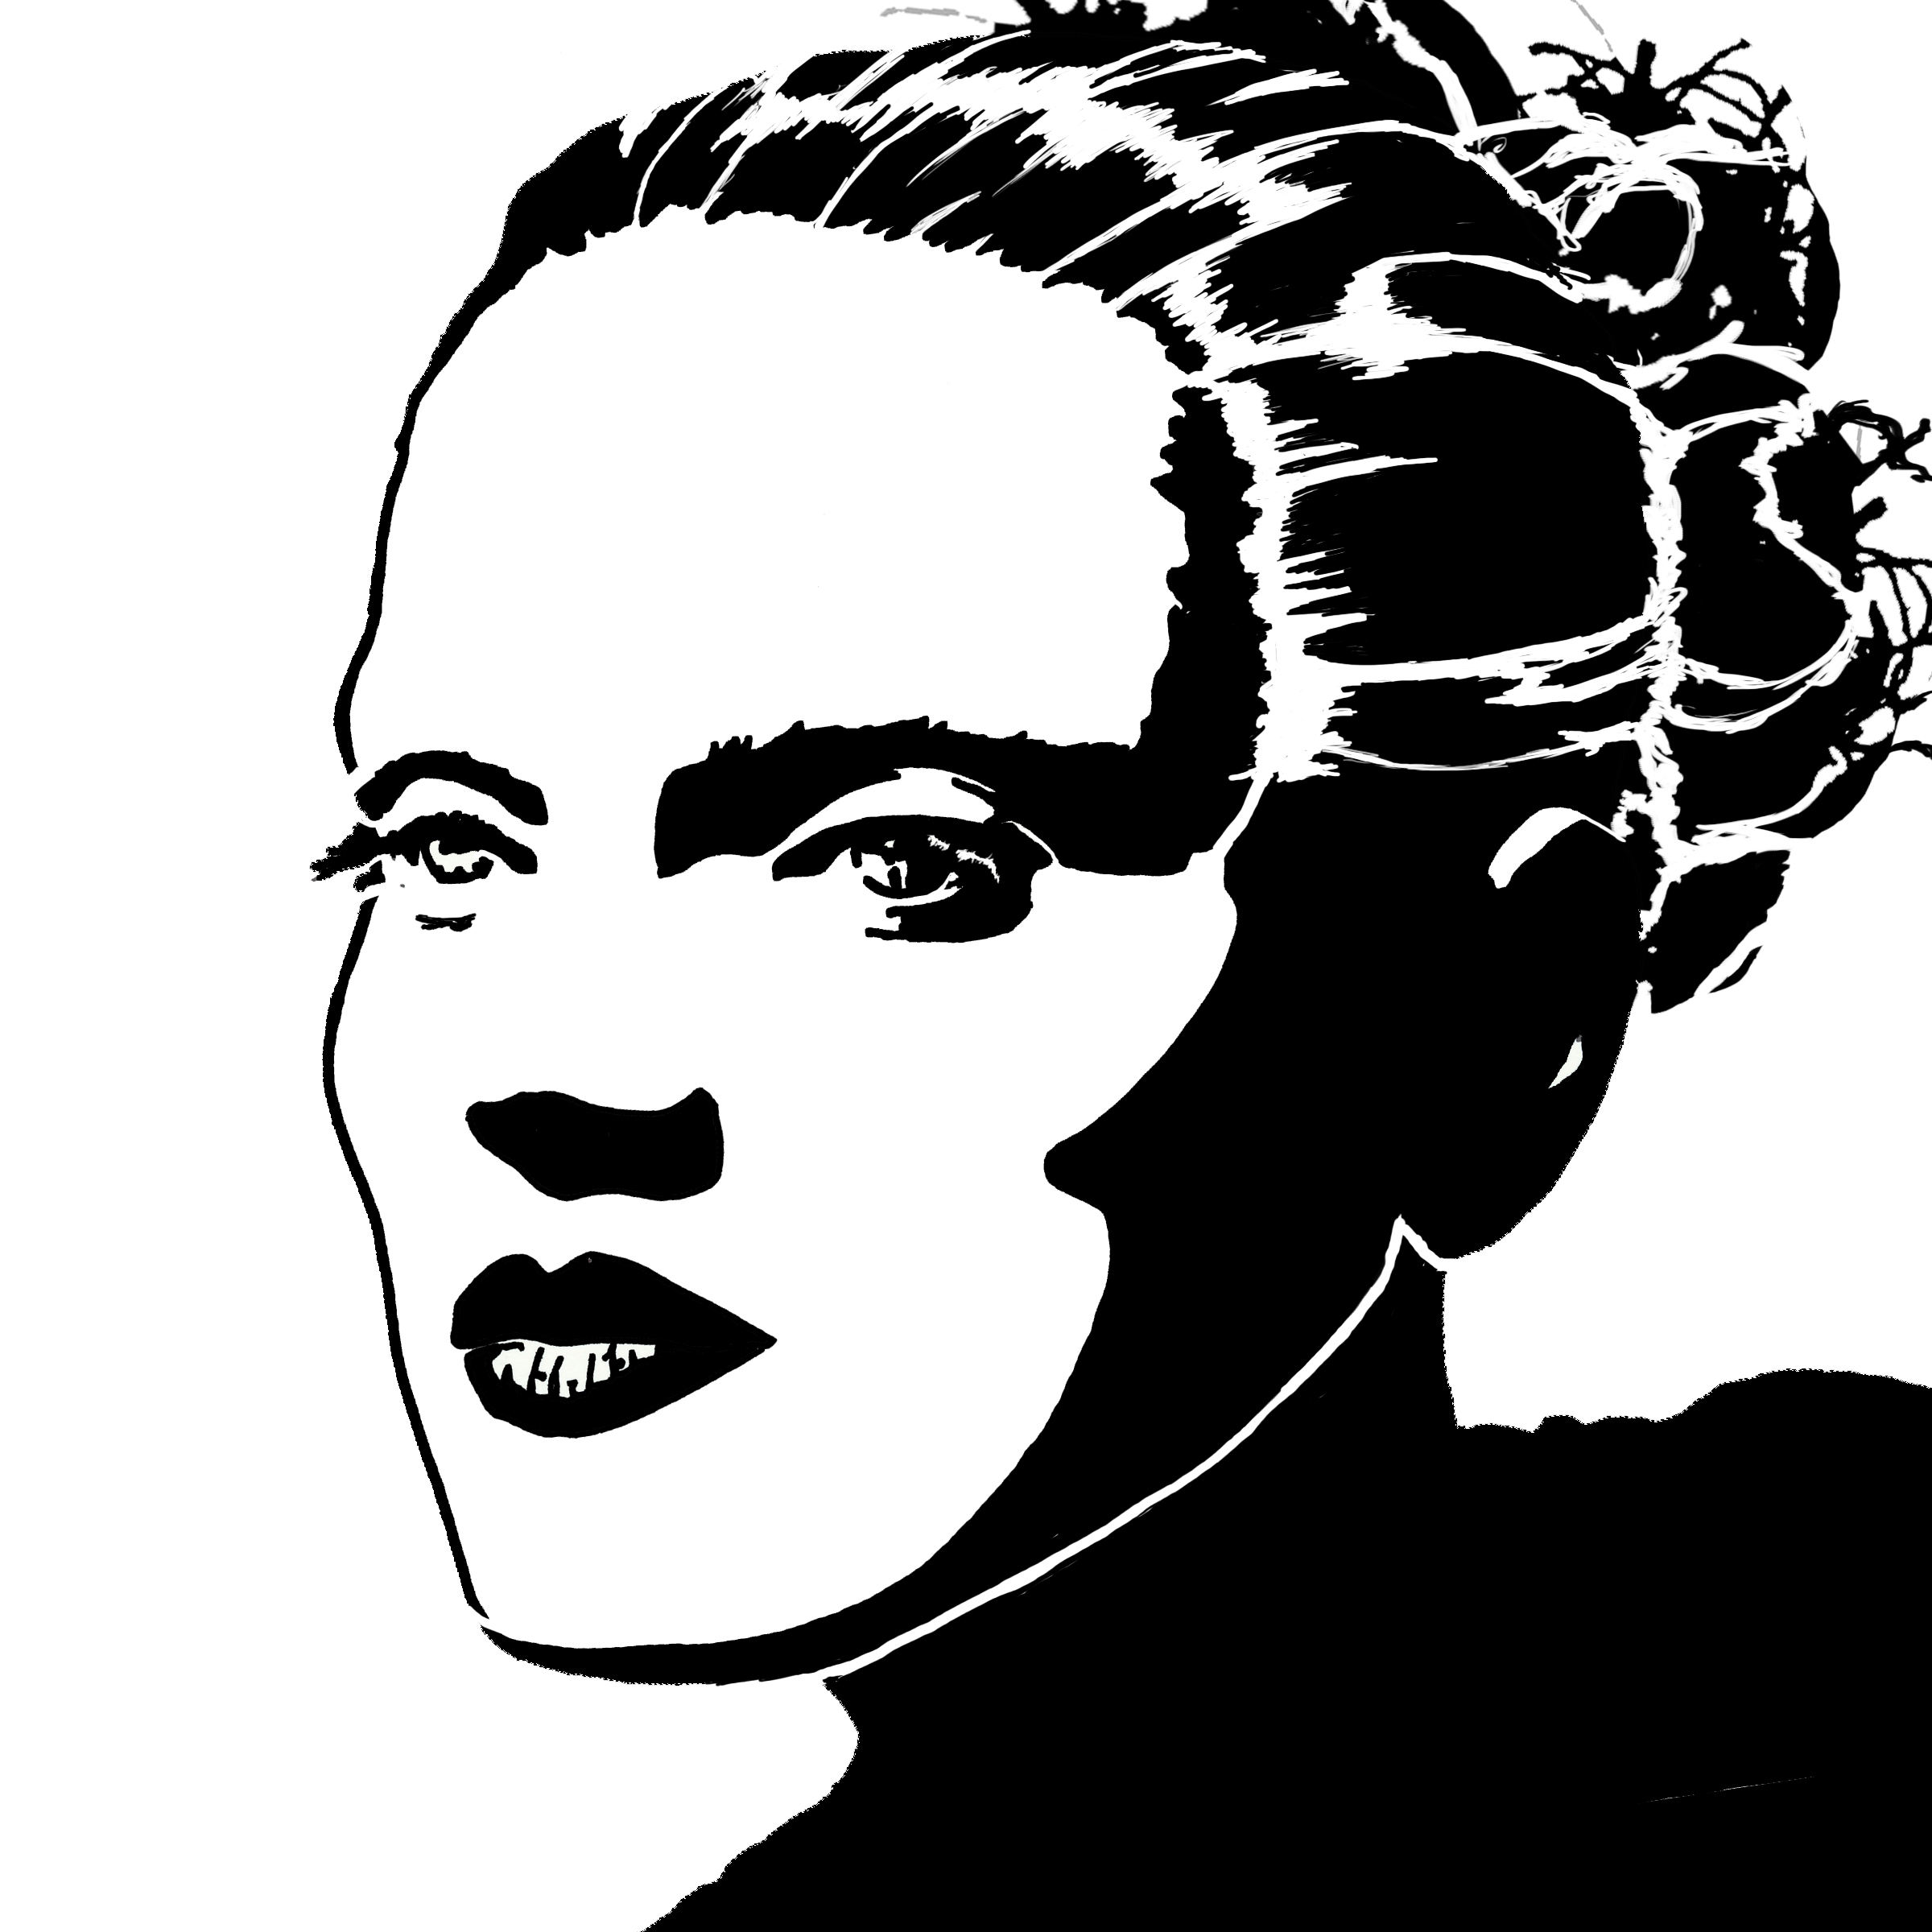
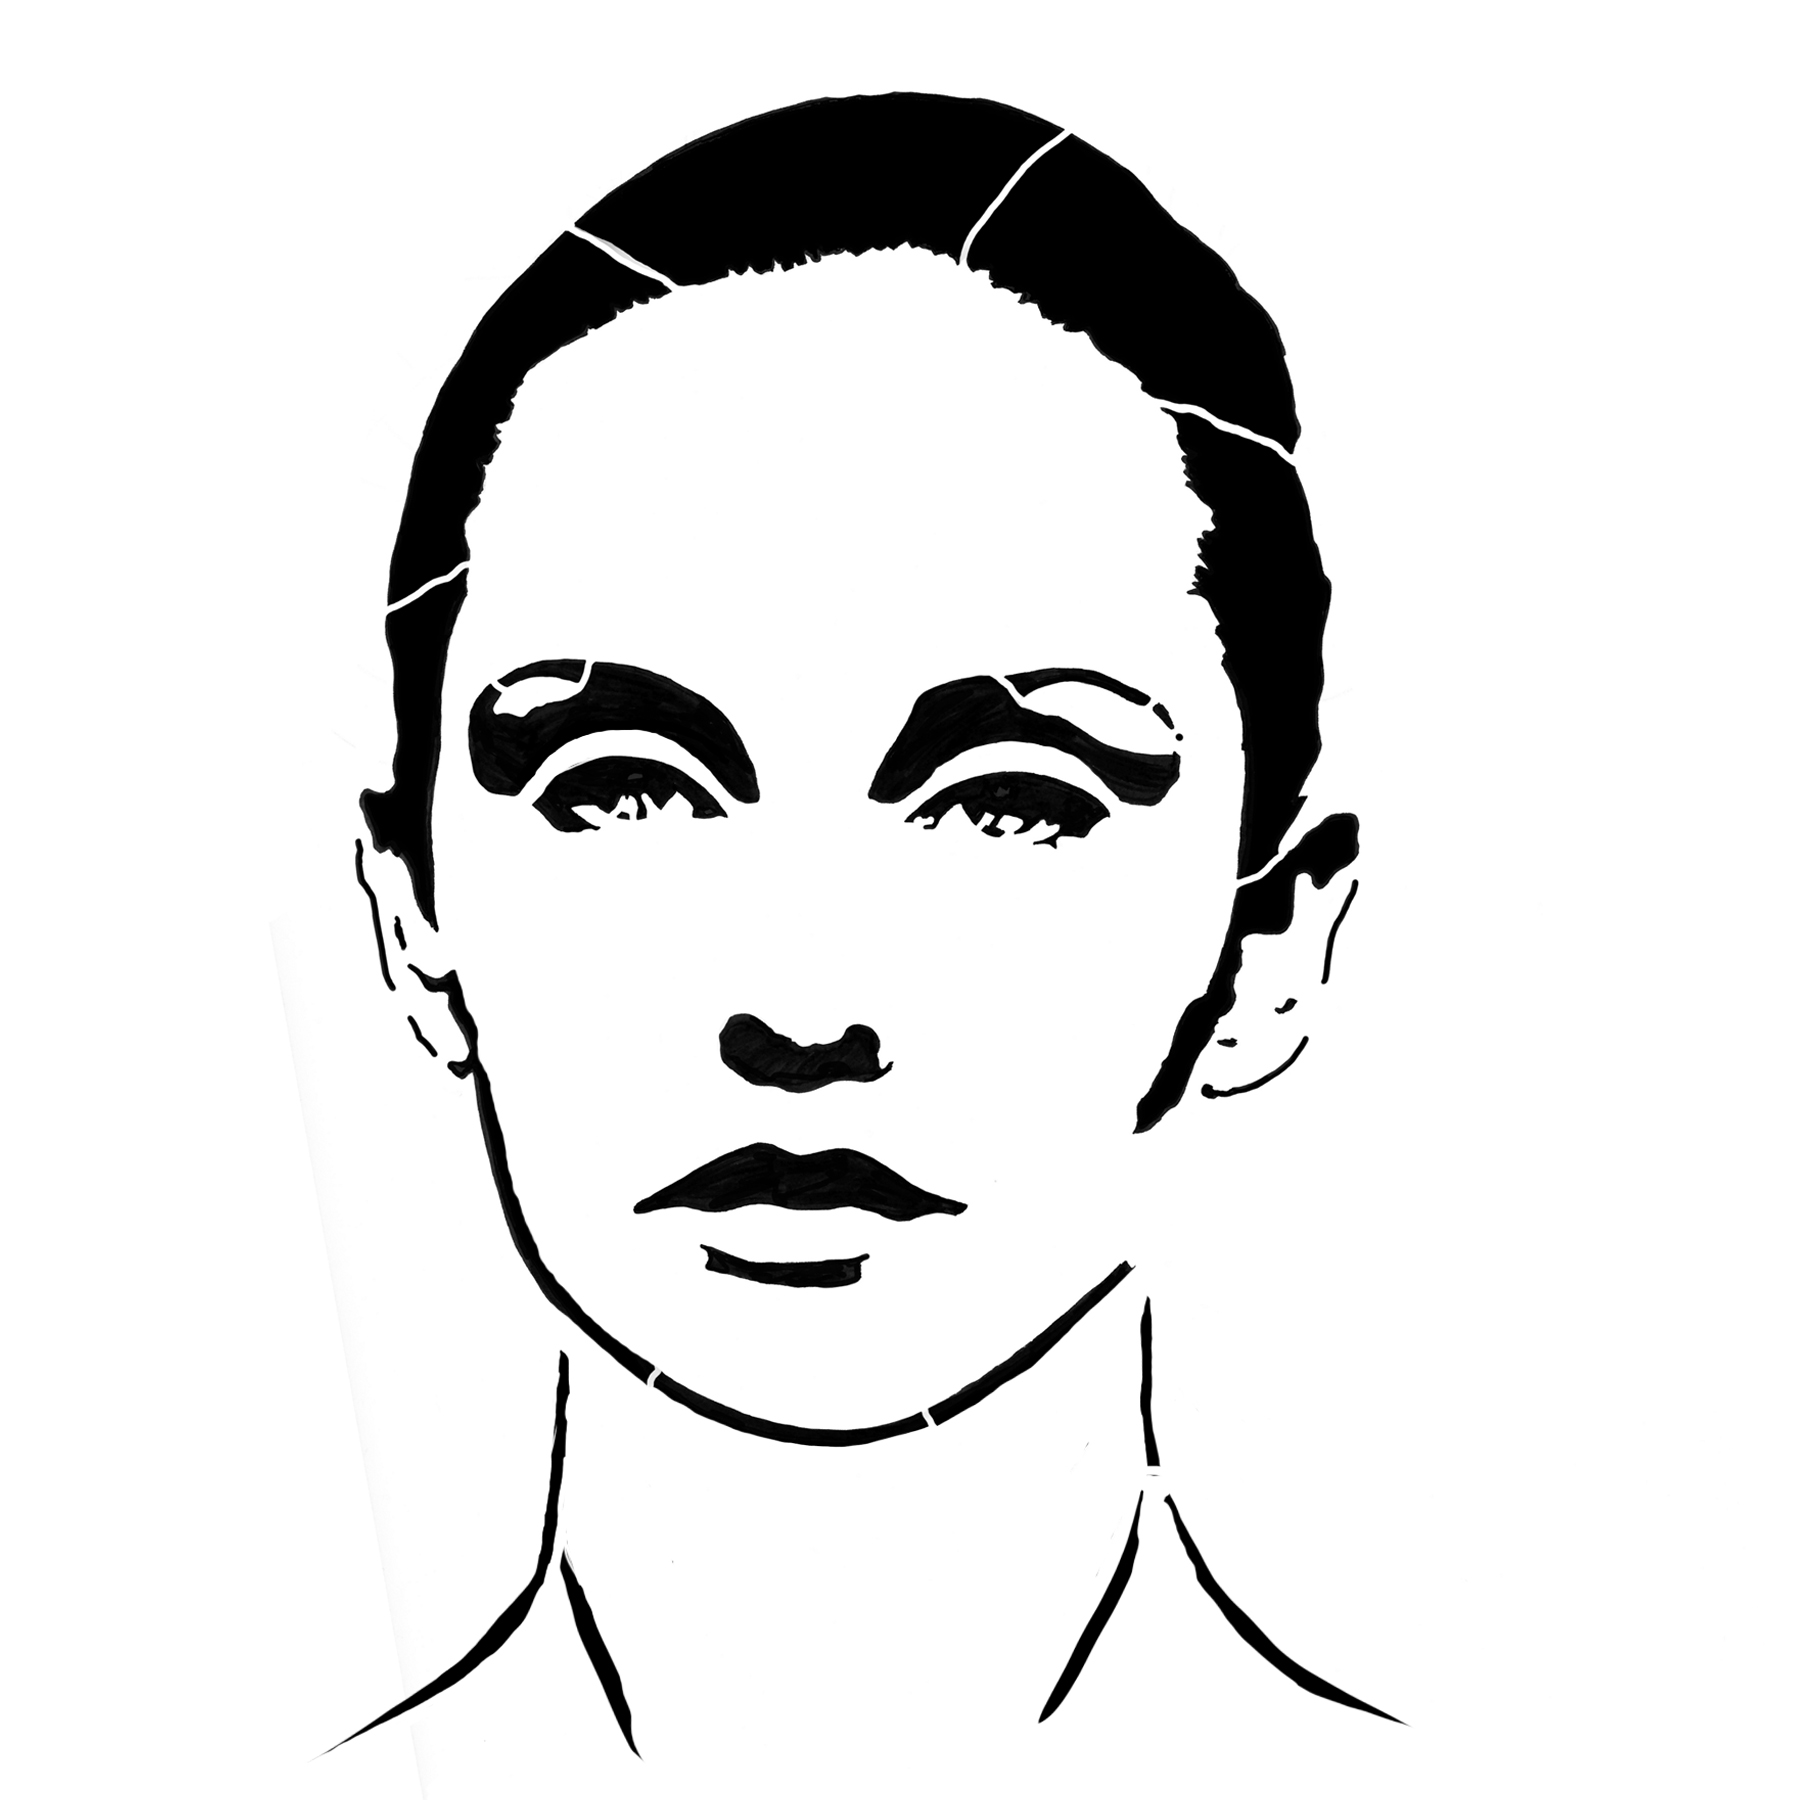
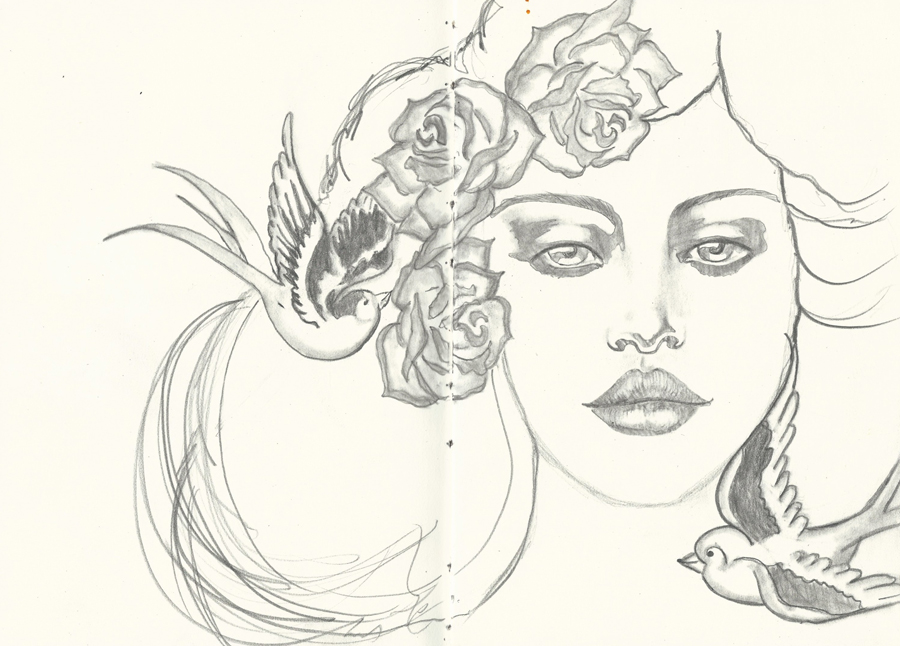
So excited to announce my new line of stencils with StencilGirl. I have loved seeing the incredible creations that people have come up with using my last series of stencil designs, and I can't wait to see what you all come up with next! Most of these designs came right out of my sketchbook and are heavily influenced by my love of both faces and street art. Here's a quick overview of what they look like: These are the 7 new designs for 6X6 stencils...(click on any of the designs to be taken to the product page)
....and one more 9"X12" design to add to the collection:
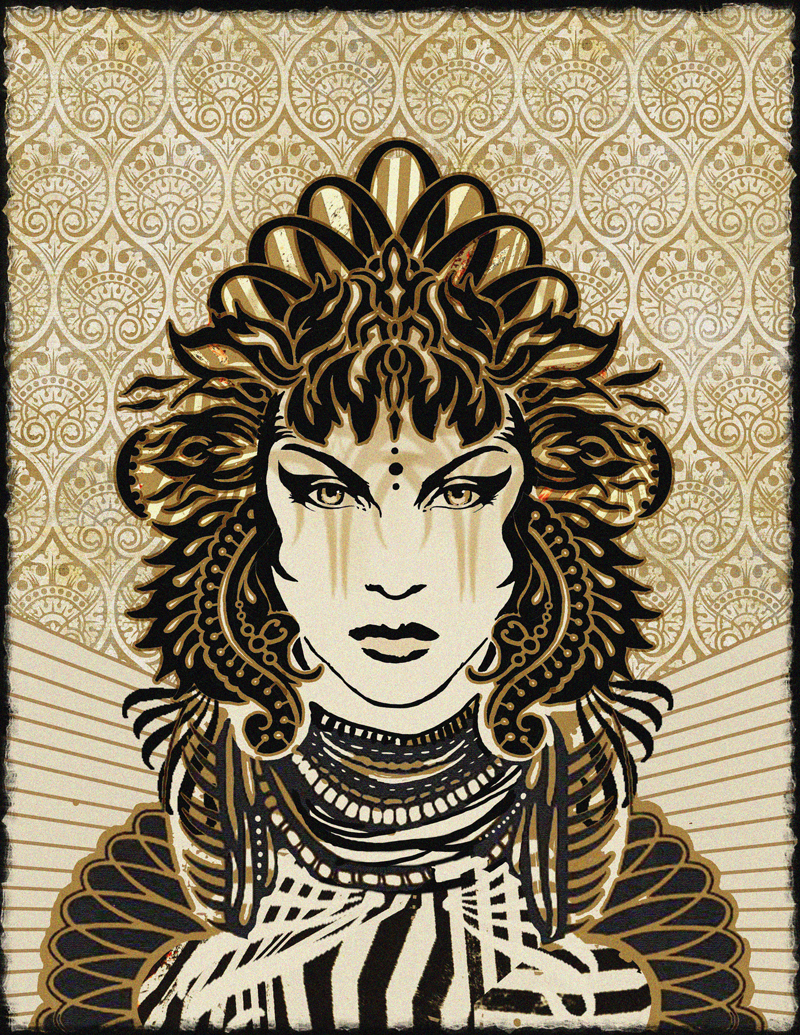
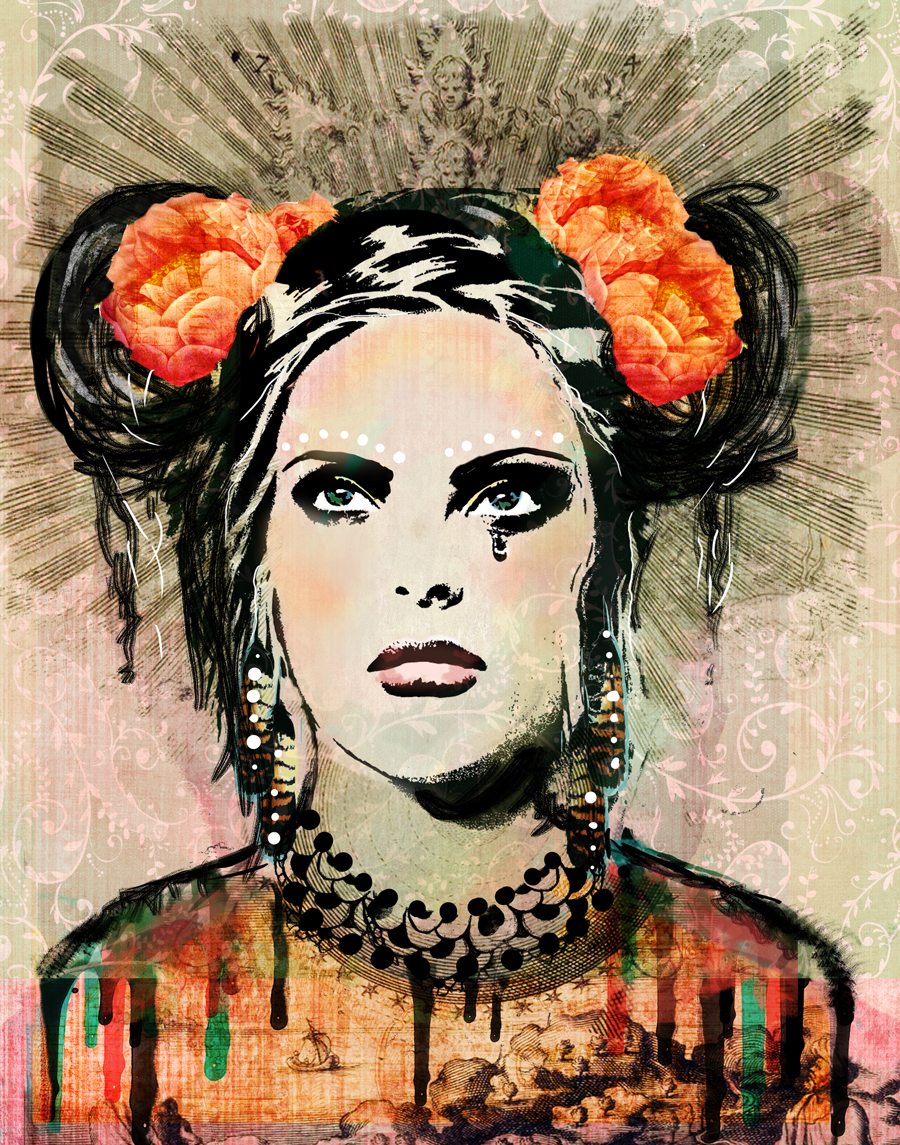
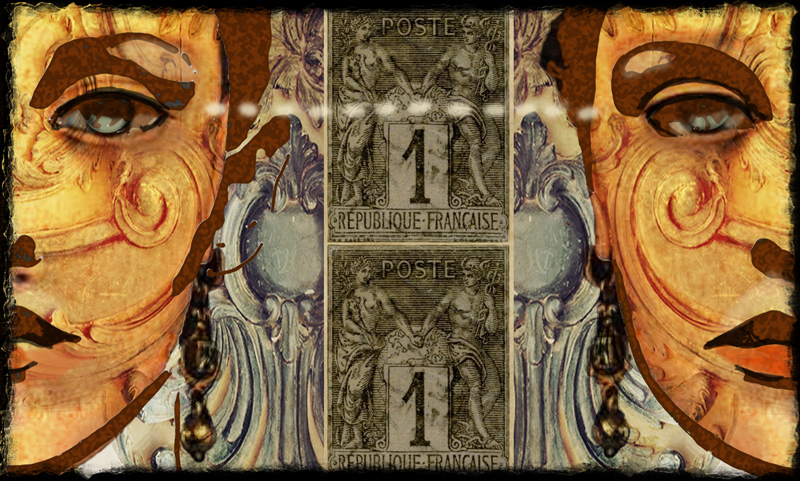
I'll start off by showing you a few examples of what I've done with these in my journals and my artwork and then link you to a tutorial I designed for these stencils as well as a few workshop links where you can find out ALL of my stencil secrets.



Using Multi-Layered Stencils in your Mixed Media artwork
Quick tutorial on using multi layered stencils designed by Andrea Matus deMeng
Many of you know that I have a line of stencils with StencilGirl and one of the questions I am asked often is how to use the multi-layered stencils in the line, so without further ado let's get to a quick tutorial to show you how I use them. We are going to use the Doris Light Plate & Dark Plate Stencils for this tutorial. The slide show below gives you a quick overview of the steps, if you want all the details you'll find them below.
Step One: Gather your supplies. You'll need:
a surface (I used a sheet of coldpress watercolour paper)
4 paint colours (light, midtone, dark and contrast colour)
sponge or stencil brush
paper towel (to remove excess paint from brush)
Easy Tac or some other removable spray adhesive
your stencils
Step Two: get a little fresh air, and while you are outside spray the back of your stencils with the Easy Tack. This is my secret for getting great results with stencils that have fairly complex and small cutouts so shhhhhh don't tell anybody.
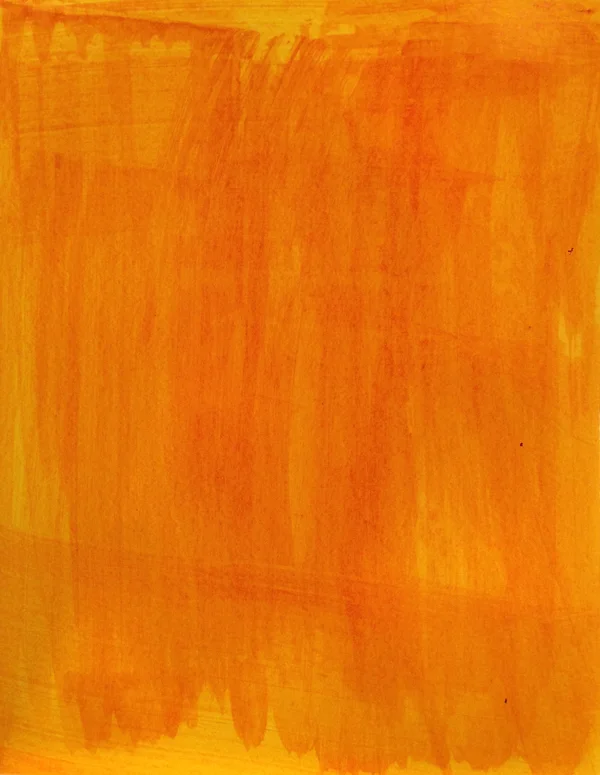
Cover your surface with the midtone colour of your paint. Easy peasy.
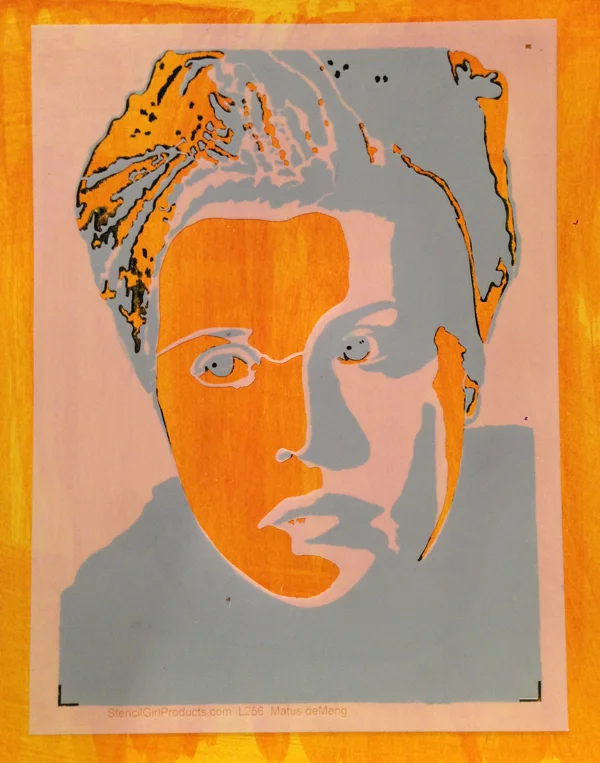
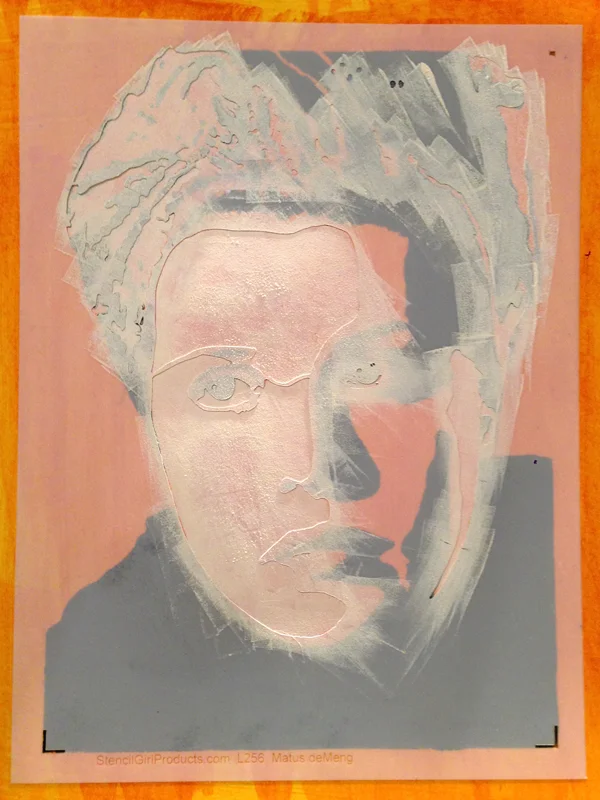
Place your Dark Plate stencil on your surface, you'll want to pat it down with your hands to make sure it is fully stuck down. It's probably pretty obvious from the name, but just in case...this one will use your dark coloured paint. Notice the small cutouts in the top right hand corner and the bottom left and right hand side, these are registration marks, colour them in with a pencil to ensure that the next layer lines up perfectly.
Now taking your paint or stipple brush and using a "pouncing" motion apply the paint. Less is more here. You are better off doing a couple of coats of paint than to be heavy handed. Too much paint on your sponge or brush means that paint will seep through and create a pretty messy effect. StencilGirl has loads of videos demonstrating proper technique here if you are having trouble.
Now you are ready to add the light plate. Remember the registration marks when you place the second stencil. Now repeat the previous steps using your lightest colour paint.
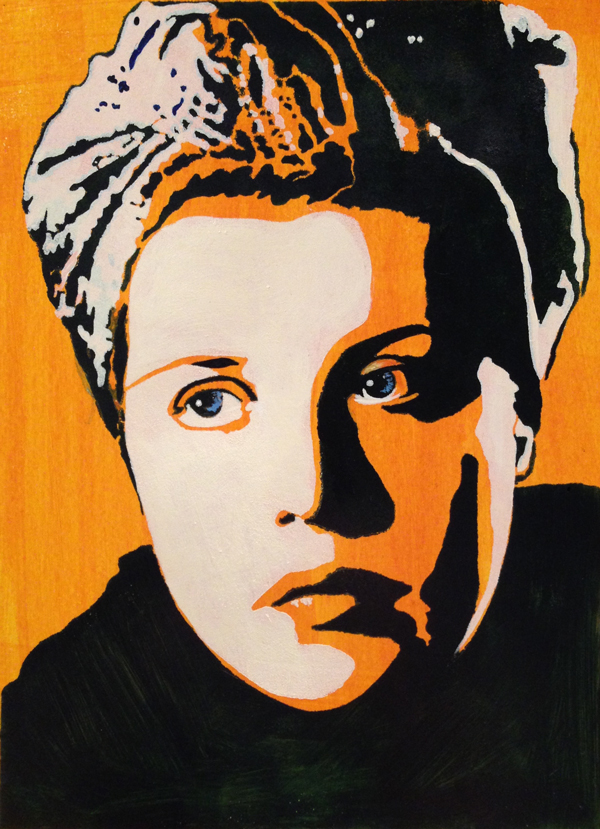
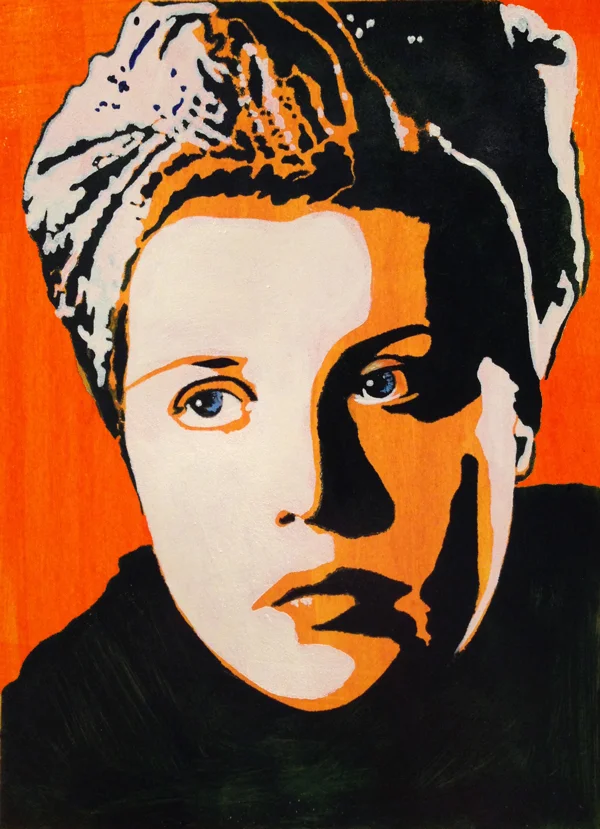
A little fine-tuning. Painted in some details in the eyes and joined some of the stencil breaks with paint.
Add some paint to the background to really make the image pop. I used Pyrrole Red from Golden.
If you want to try it out yourself, or to see the other stencil combinations, you can find my stencils at StencilGirl, right here! A whole new batch of face stencils will be coming out very soon....stay tuned. ..
Product Links:
StencilGirl Doris, Dark Plate
StencilGirl Doris, Light Plate
Golden Paint (Indian Yellow Hue, Pyrrole Red, Anthraquinone Blue)
Kroma Artist Acrylics (Titanium White)
Pam Carriker Sheer Acrylics by Matisse (Mustard Seed)
Yes, it's true I have Stencils! ...and a bloghop ...and a give away
It was an absolute thrill to be invited by Mary Beth Shaw to join her tremendous StencilGirl team of designers and today I’m delighted to share those designs with you!
You know I love lots of richly detailed layers….and especially layers over faces, so it was important for me to have stencils that work the way I work….in layers. With that in mind almost every stencil overlays and works with the faces. The stencils work in a myriad of ways, whether you are creating journal pages or large canvas compositions. If you scroll down you'll get a look at what I did with a few of them, of course I know some of you are anxious to get "hopping" along with the SGP Design Team blogs, so I've put those links for you next. I'll be blog hopping along with you because I can’t wait to see what everyone did and I thank them for their creativity and participation!! So without further ado….
StencilGirl has a giveaway!
THE GIVEAWAY IS NOW CLOSED!
Congratulations to Linda Storey and Terrie Purkey!
All comments left on the hop are eligible for the giveaway so
the more blogs you comment on, the more chances you will have to win.
Have fun and GOOD LUCK!
Blog Hop Order
StencilGirl Talk
Andrea Matus deMeng <<you are here>>
Mary Beth Shaw
Mary C. Nasser
Linda Kittmer
Carolyn Dube
Paula Phillips
Janet Joehlin
Kirsten Reed
Judy Shea
Julie Snidle
Maria McGuire
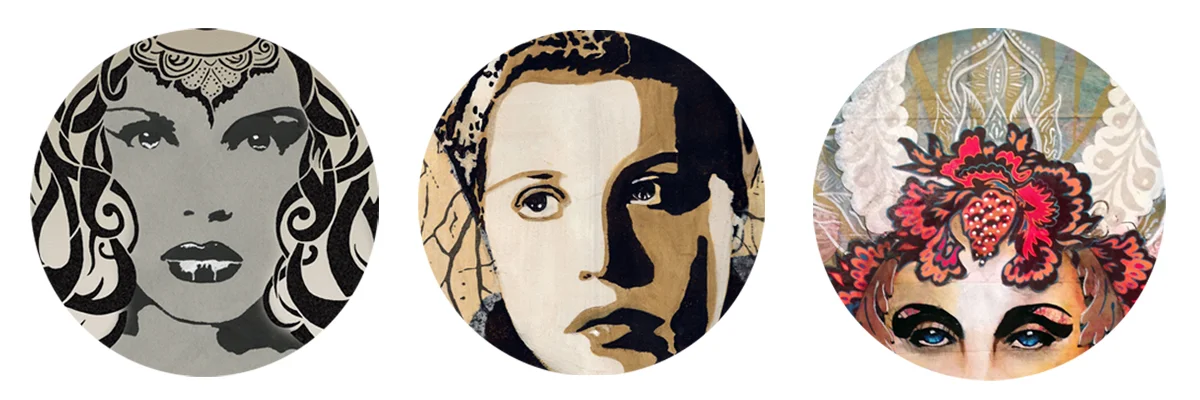
Here's a bit of what I did with the stencils.
Don't forget to leave a comment for your chance to win! ...and thanks for stopping by :)


