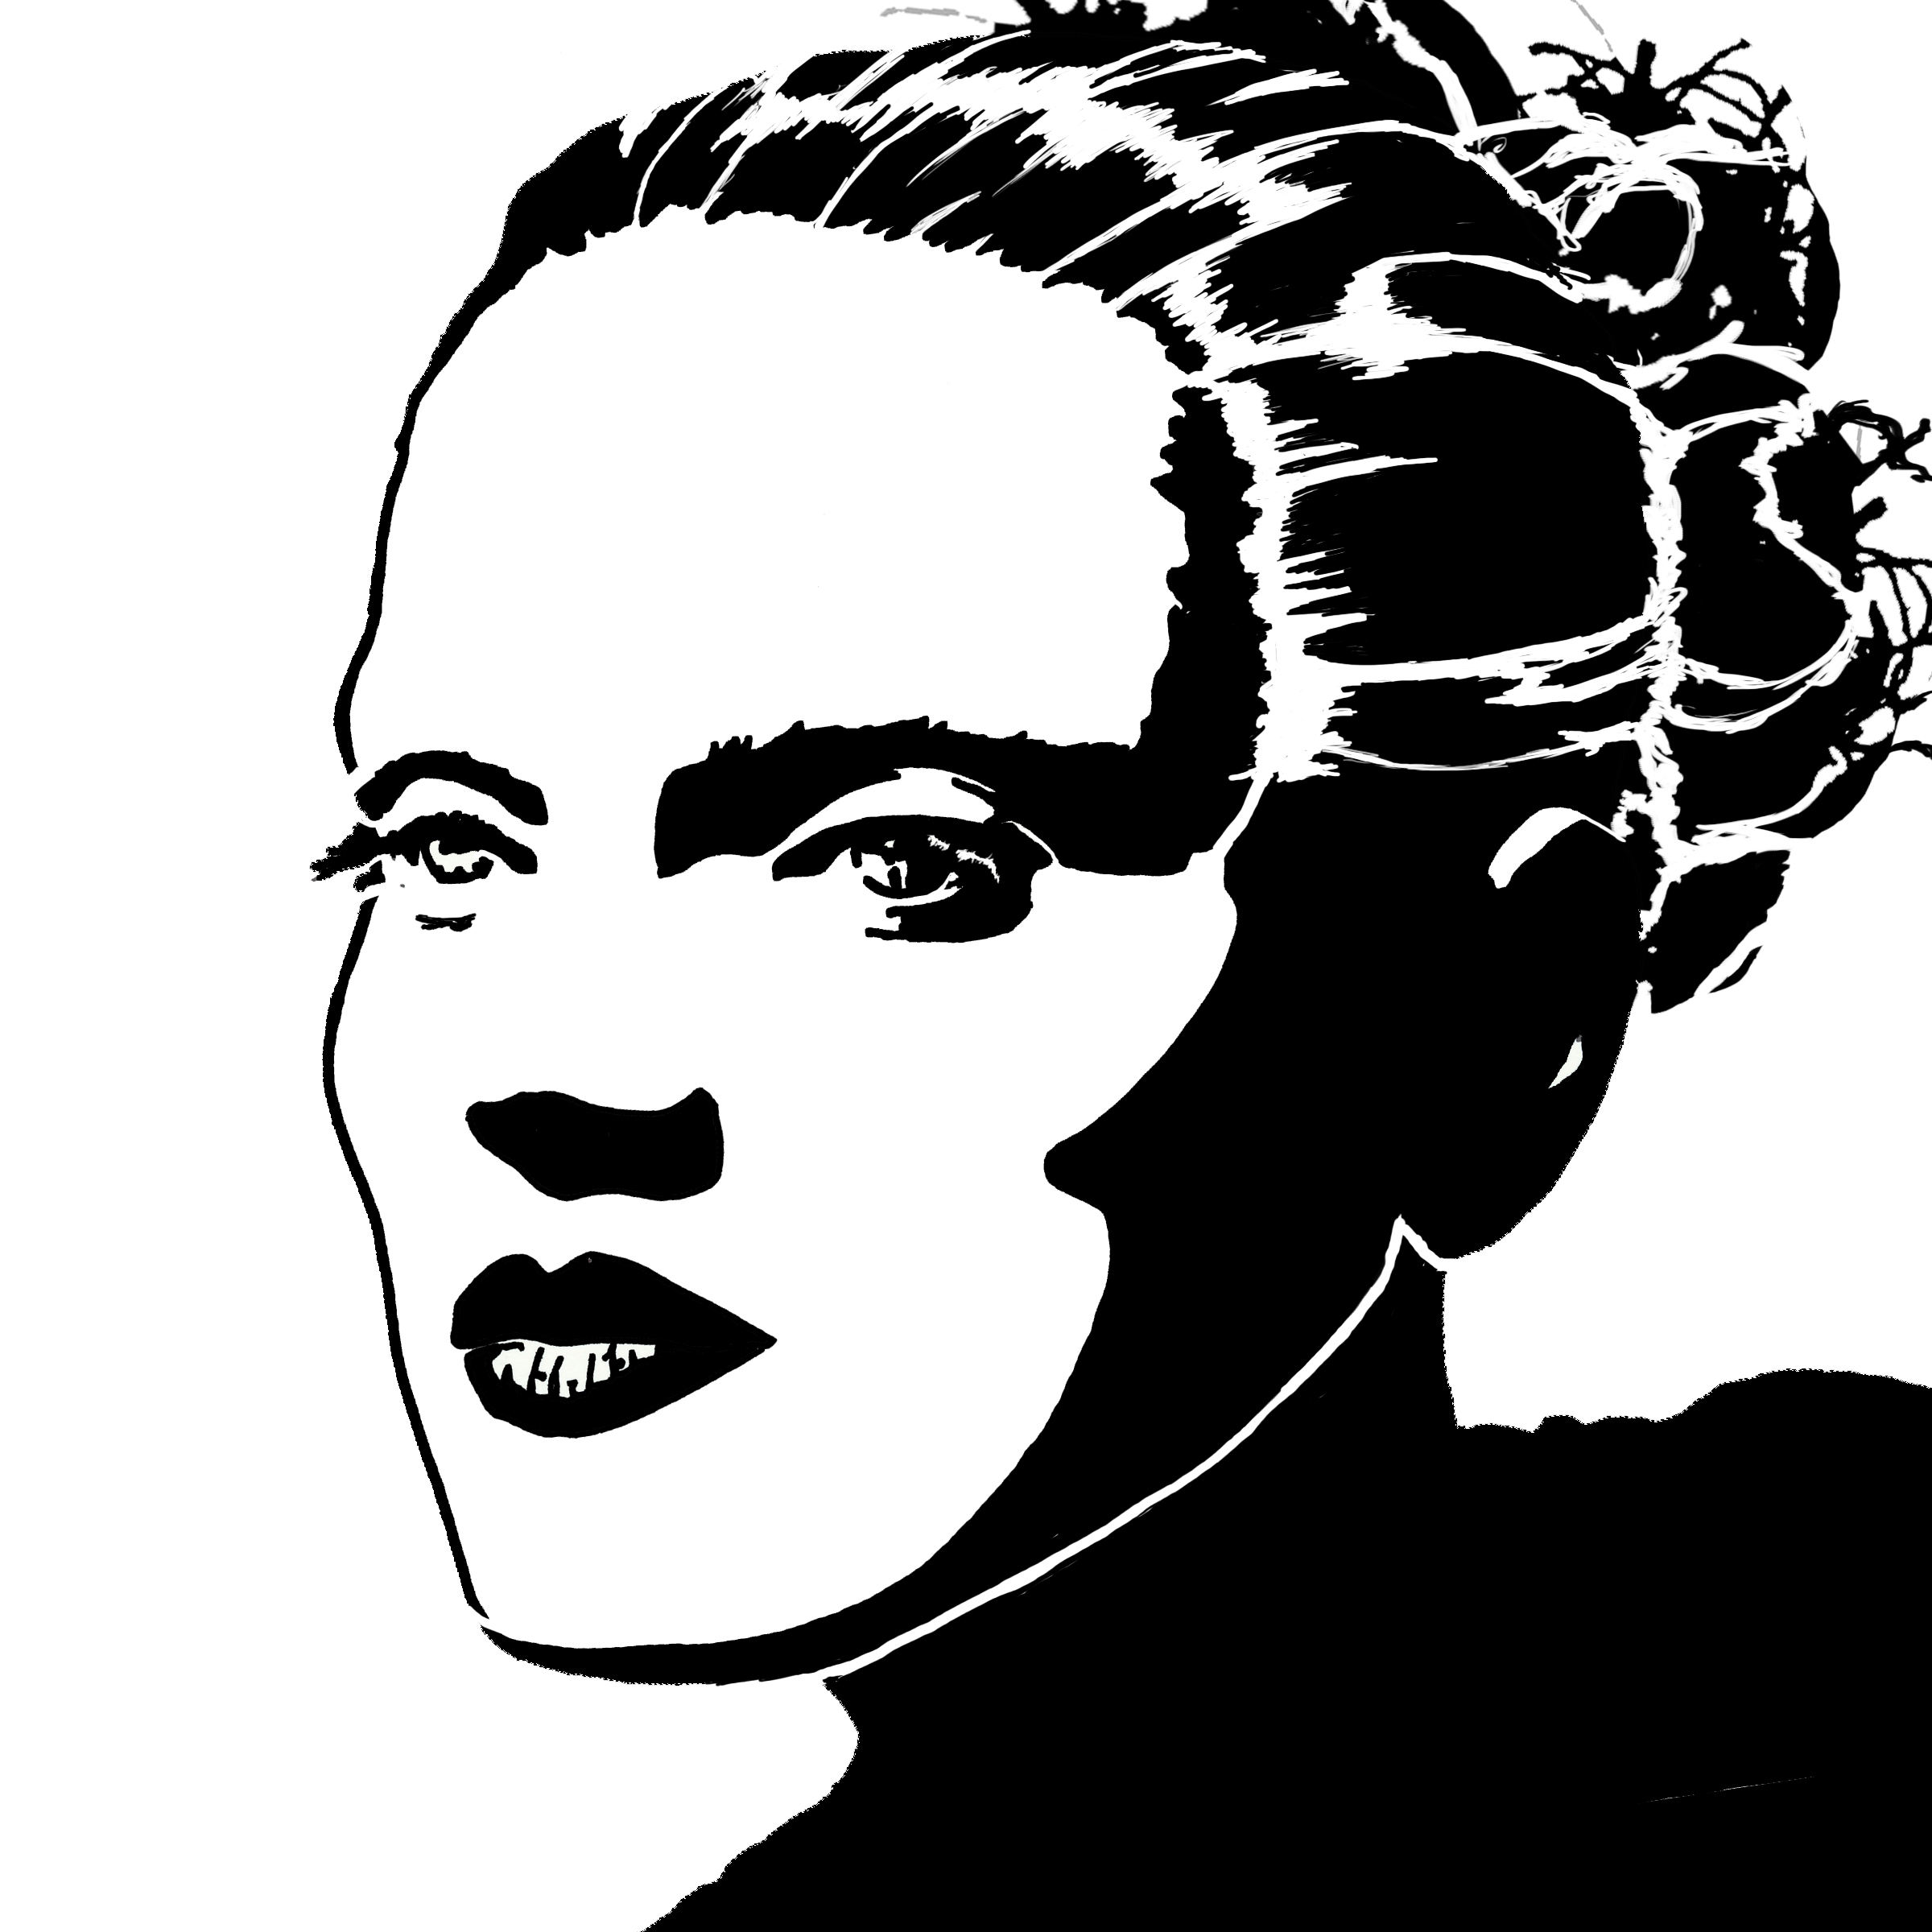
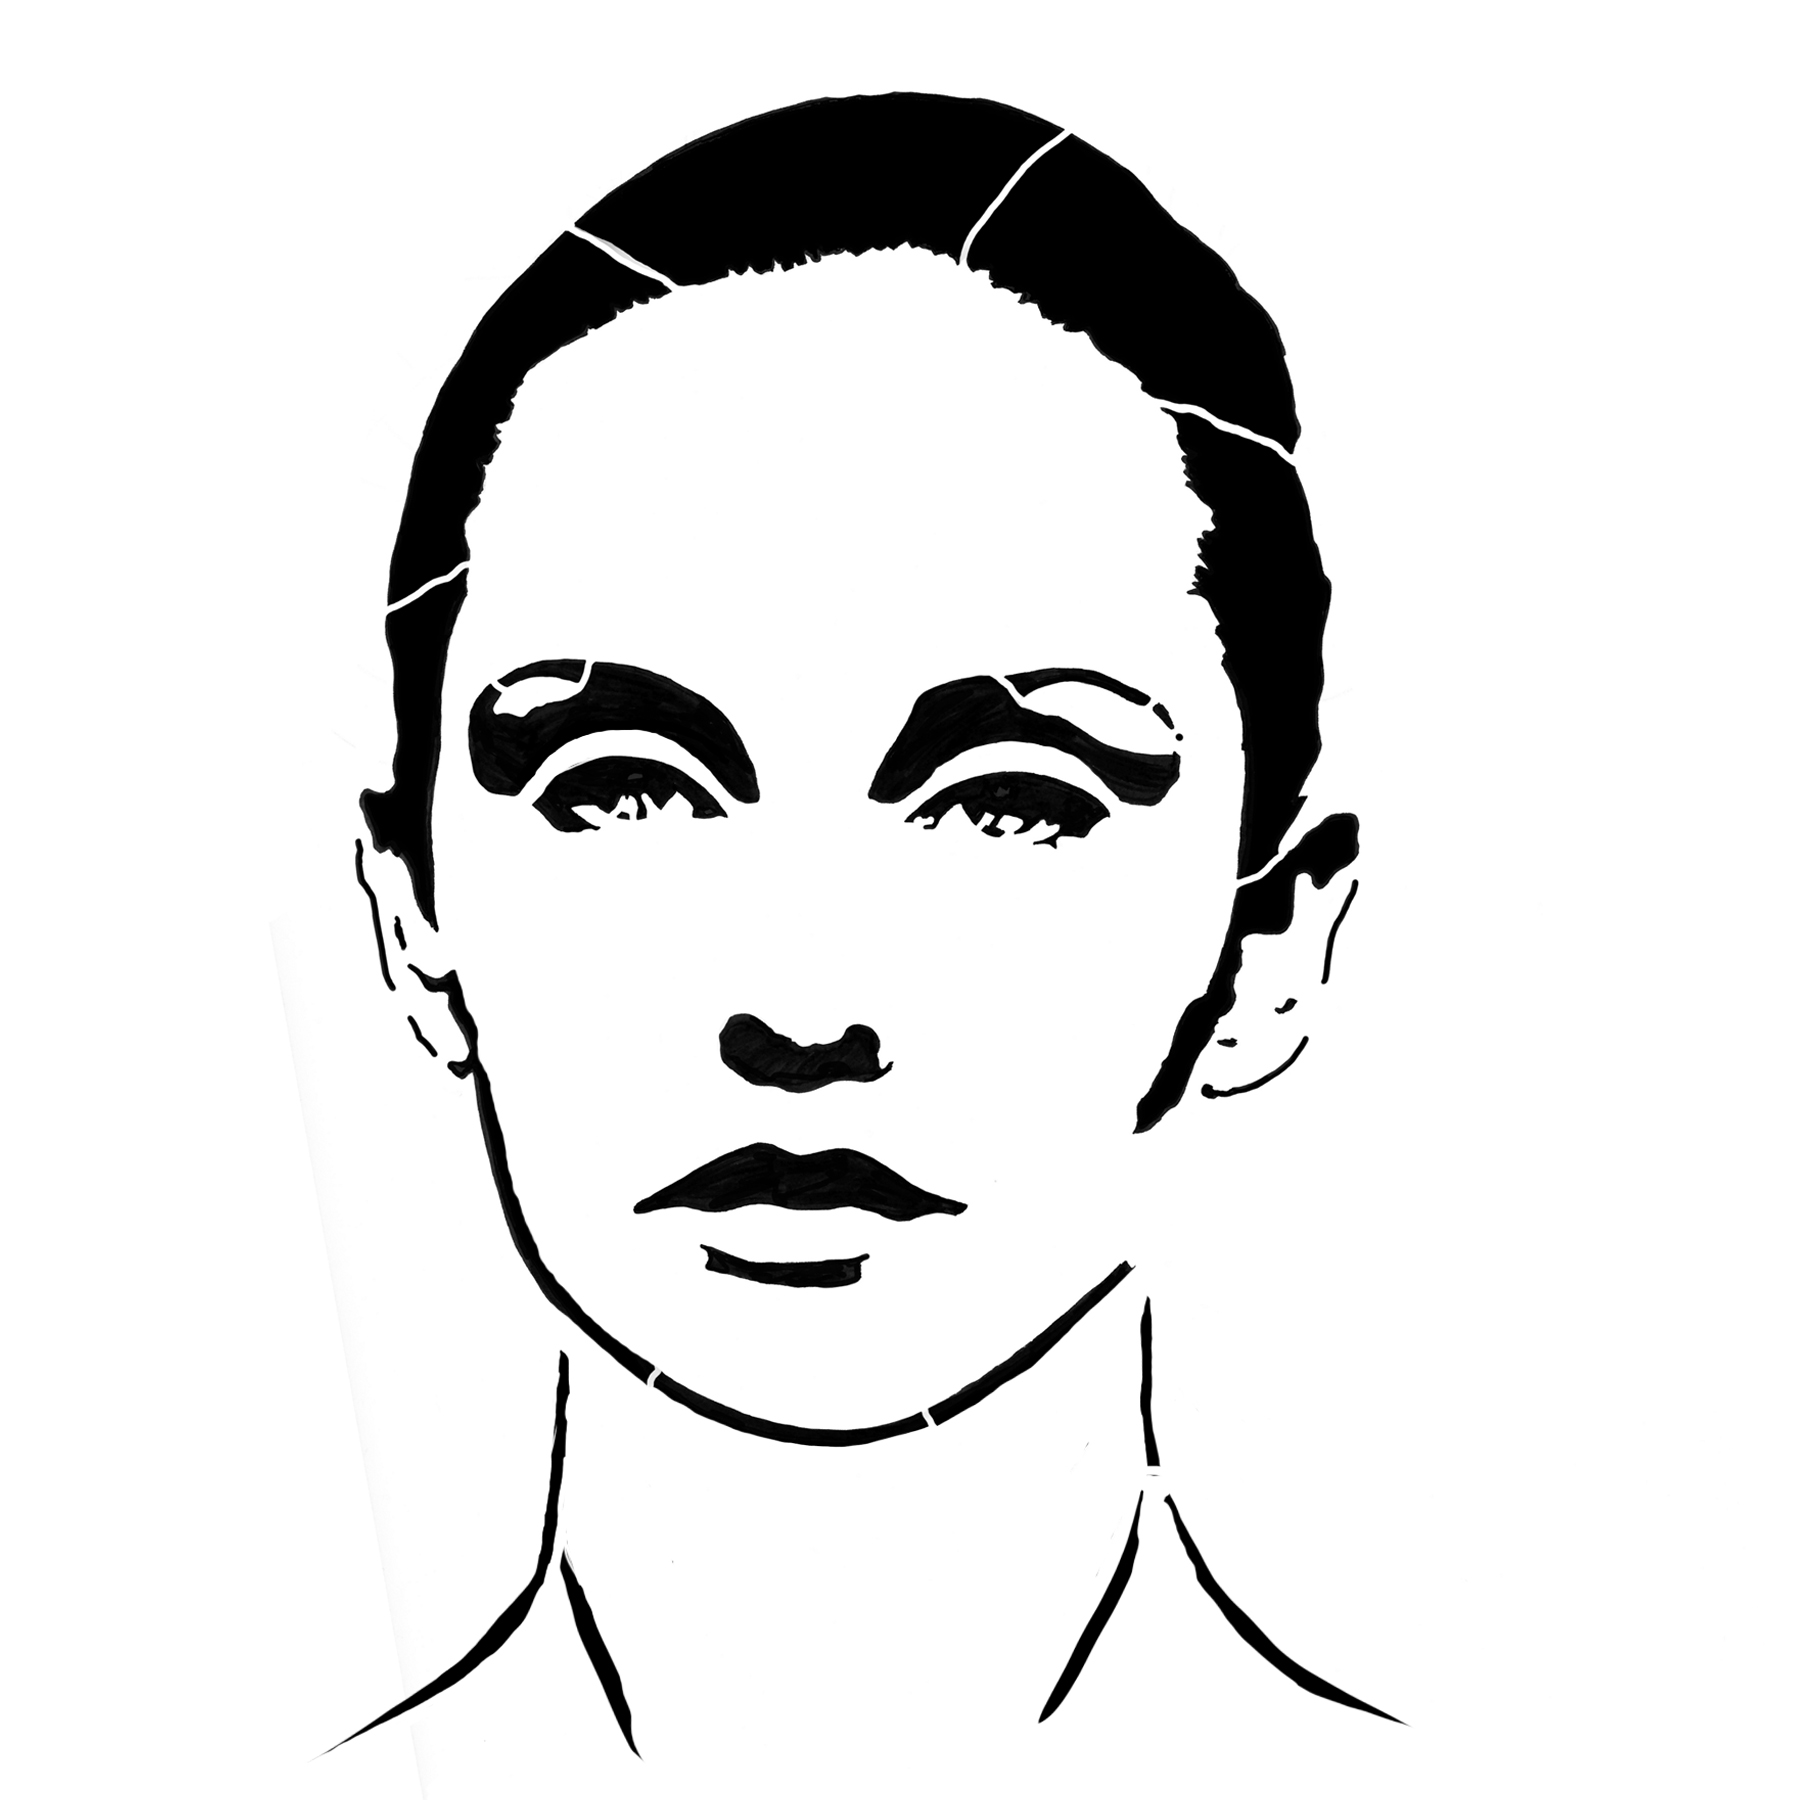
Stencil Inspiration - A quick tutorial for gorgeous miniature art journals to keep or gift!
I have little notebooks everywhere. All of my purses, bedside table, in the car…I love them and always want to be ready when inspiration strikes or a to do list needs to be written down. Yeah, I know, I’m kind of old-fashioned that way, but I love a list!
Here’s a quick look at couple of ways that I have used my latest stencils to make a few journals.
These started out as small kraft paper blank journals from Moleskine, I like these for the paper quality and size but any little notebook will do. The paints and gel medium I used are from GOLDEN Artist Colours.
Start by painting your journal covers - I kept these plain and used Cobalt Violet for one, and Quinacridone Magenta mixed with Fluorescent Pink for the other.
After the covers were dry, I mixed some heavy matte gel with the same paint colours I used for the covers.
Position your stencil (Pretty as a Peacock Mini) on your cover and using a palette knife apply a thick-ish layer of the paint/gel combo over your stencil, kind of like icing a cake. It’s pretty obvious I think, but I used the fuchsia paint mix on the violet background and the violet paint mix on the fuchsia background.
Lift the stencil up without sliding and you should have a brilliantly clear raised impression of the stencil on your journal cover.
CLEAN your stencil! When you are using any of the heavy gels or pastes with your stencils it’s important to clean them off right away.
Wait, and let the cover dry. Because we added the heavy gel and applied a thick layer it’s going to take a lot longer to dry than before. Ideally leave it alone for a few hours.
Once completely dry, I just added a little bit of washi tape at the top and bottom of the stencil to add a little more flourish.
You’ll see the same technique shown here but with a different colour palette and on a mini hardcover journal I picked up at my local art store.
Last one with this same stencil. Here a plain white background is used, the stencil is painted with GOLDEN copper mixed with their Coarse Pumice Gel instead of the Heavy Matte Gel. After it’s dried some golden paint is applied with a paintbrush and a black Micron pen to further bring out some of the details.
I have four mini face stencils and any of them would work great with this technique. Have fun making your own mini journals! Here’s the link to StencilGirl if you want to check them out :)
Connecting during Corona Virus
While several in-person workshops have been cancelled, you can still find me online! Are you on facebook? Please feel free to join me at my Matus Workshop Junkies Group where students and collage enthusiasts can connect, share artwork, ask questions and participate in challenges. You can of course also find me on instagram @andreamatusart if you are just looking for pictures and don’t feel like participating as much. I have a couple of colour mixing videos on my youtube channel - and for those that know me and my adversity to video - that’s a big deal for me!! I’m working on creating some colouring pages as well as a few other surprises which I will have available for you guys on my website. Wherever you are, and whatever challenges you may be facing - please know that while we are all self-isolating we really are all in this together. Sending you my love, stay strong and keep safe! xoxo!!!
Matus Atelier has launched!
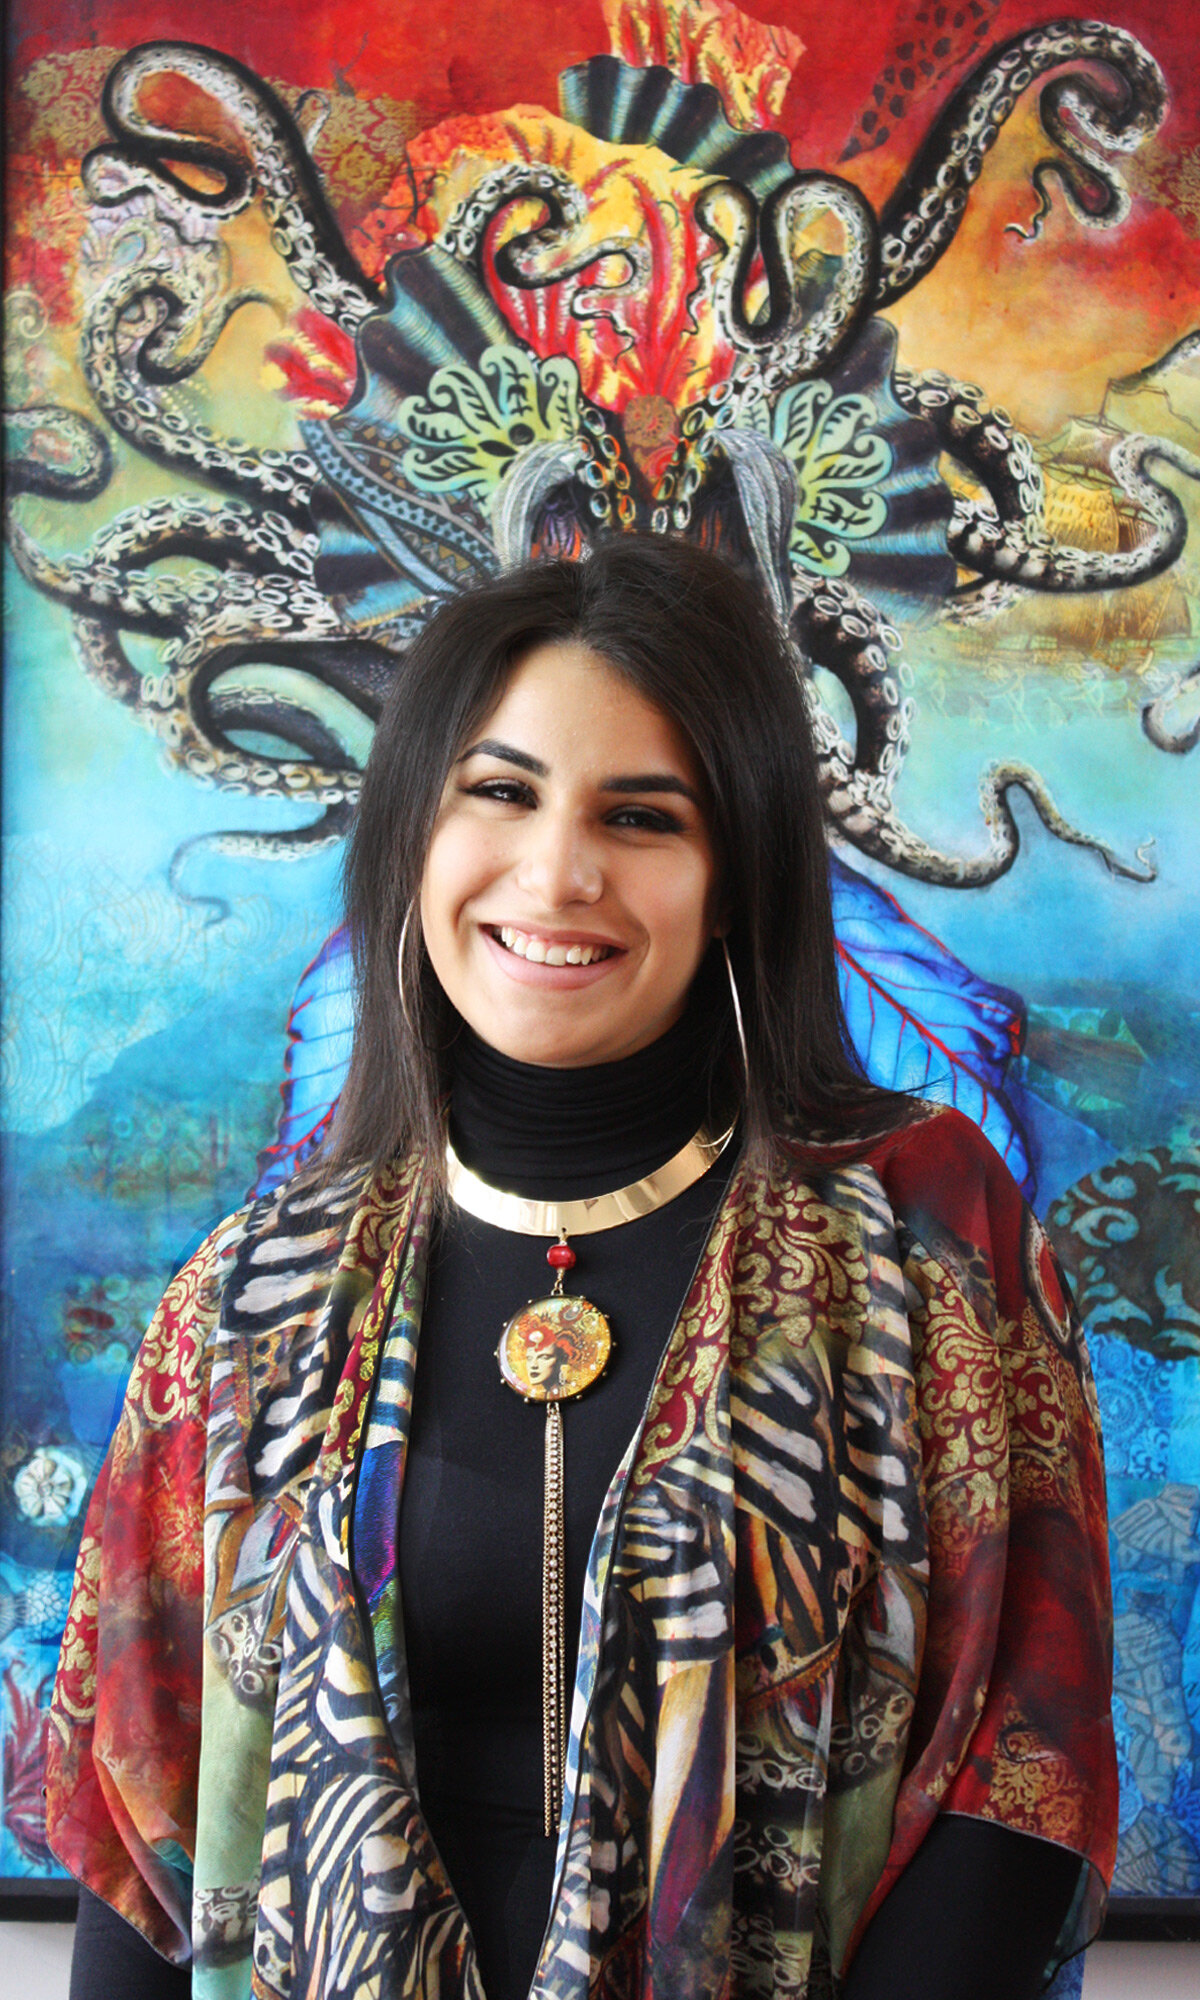
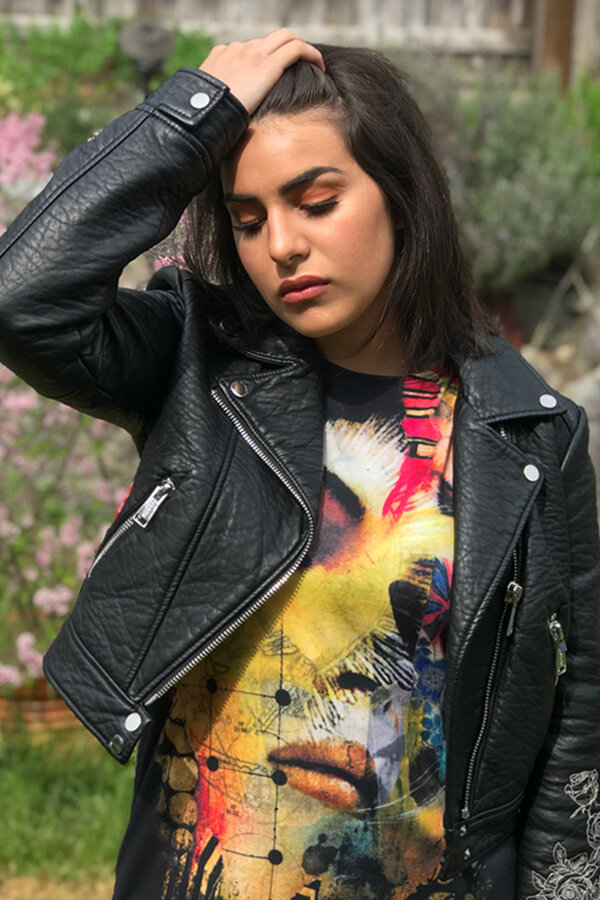
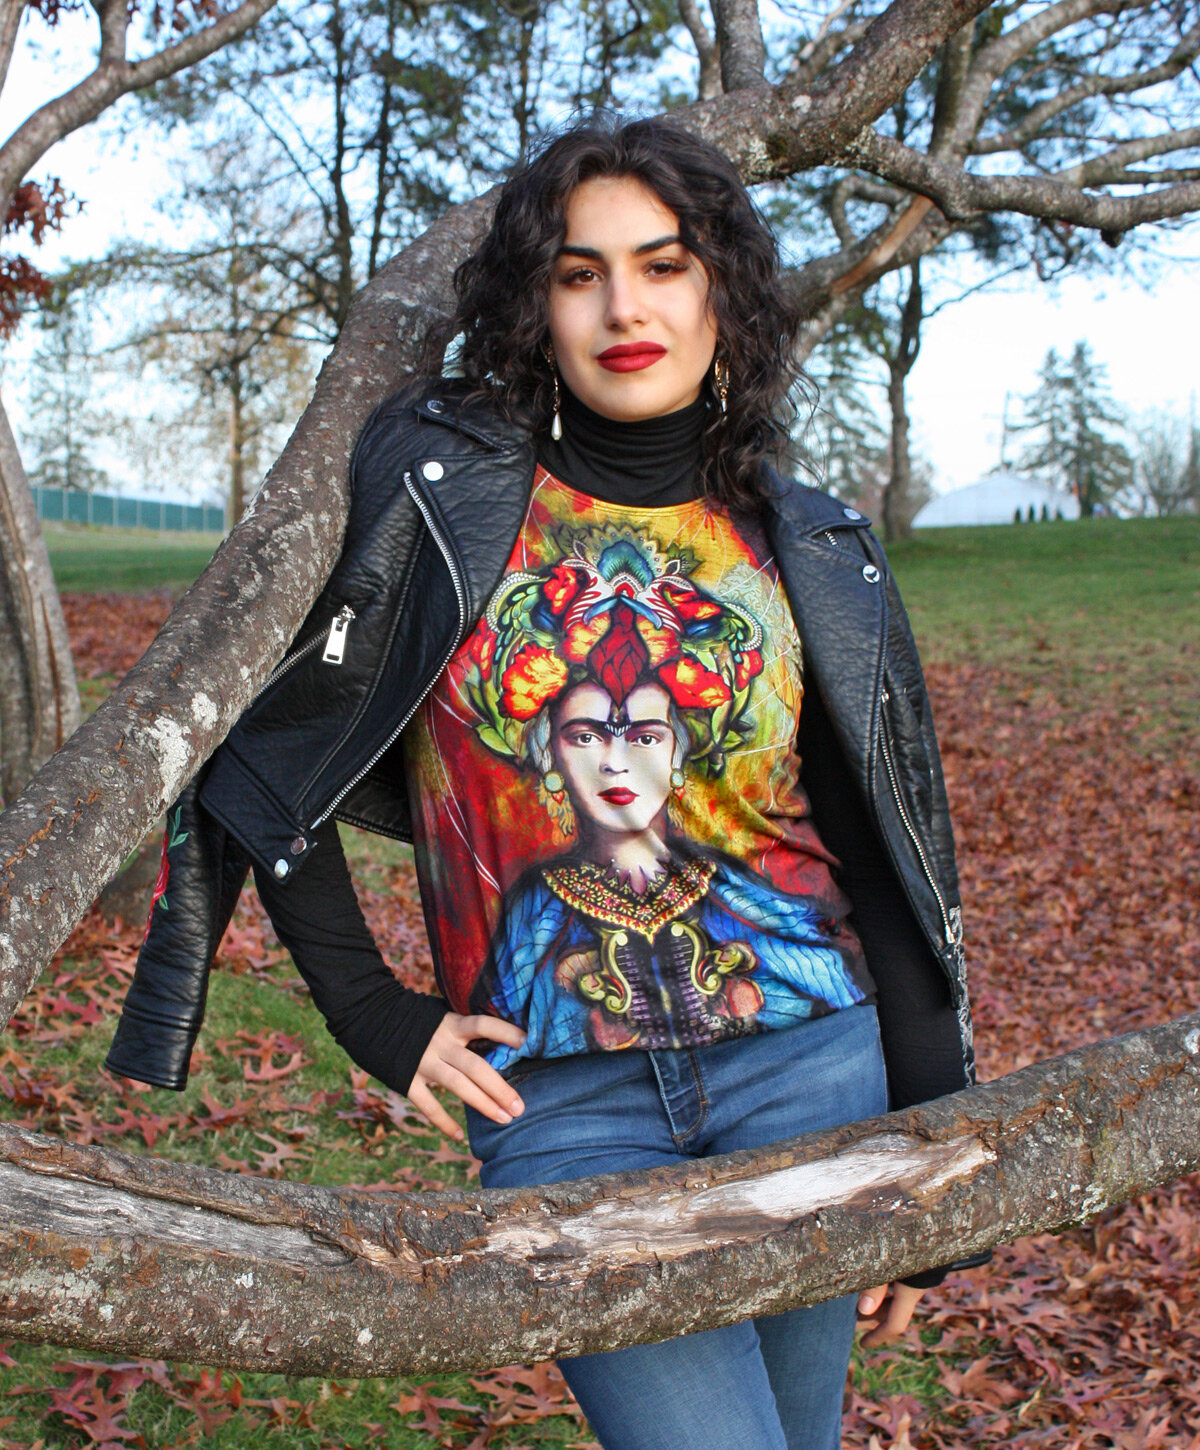
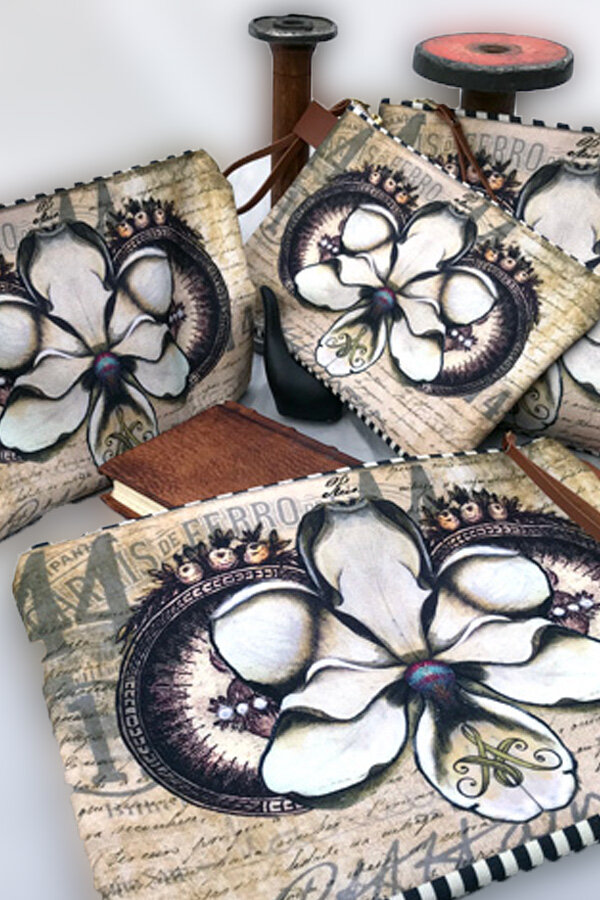
If you get my newsletter then you know that I’ve recently launched my own clothing line under the label “Matus Atelier”.
It was important to me to create the kind of clothes that I would love to wear myself. Items that were inclusive and flattering on a variety of body types and created ethically and sustainably as well. The horrors of work place safety and the toxicity of some of the fashion brand practices are really quite shocking. Eco Warrior Princess has a great article with a link to several documentaries on the topic for those who are interested.
Every single item in the store started off as an original work of art which was then scanned and digitally manipulated to be optimized for each fabric type. I’m not gonna lie, the learning curve has been steep! Did you know there are more than 50 different kinds of silk? And each one has special considerations. Honestly some days I think my head is going to explode with all of the new vocabulary I’m learning to be “designer” savvy.
Would love for you to visit the store and let me know what you think? What else would like to see added?
In the meantime, I’ve also been cleaning out and organizing my studio to get to ready to start a new series of works. Working in a different format, I’ll let you know how it goes!
New Face Stencils!!!!
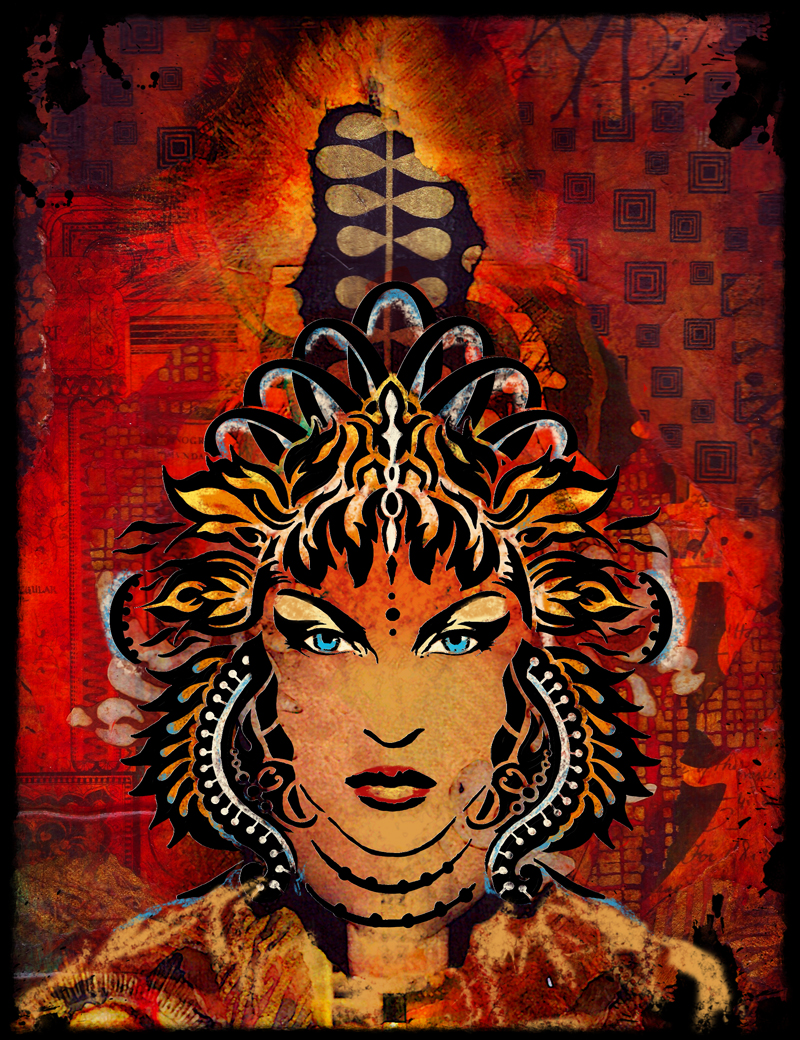
So excited to announce my new line of stencils with StencilGirl. I have loved seeing the incredible creations that people have come up with using my last series of stencil designs, and I can't wait to see what you all come up with next! Most of these designs came right out of my sketchbook and are heavily influenced by my love of both faces and street art. Here's a quick overview of what they look like: These are the 7 new designs for 6X6 stencils...(click on any of the designs to be taken to the product page)
....and one more 9"X12" design to add to the collection:
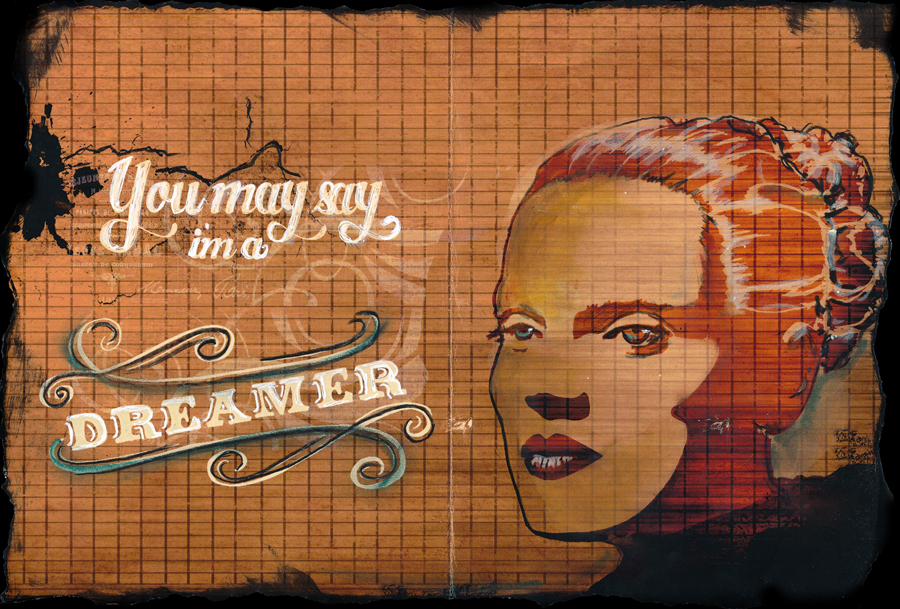
I'll start off by showing you a few examples of what I've done with these in my journals and my artwork and then link you to a tutorial I designed for these stencils as well as a few workshop links where you can find out ALL of my stencil secrets.
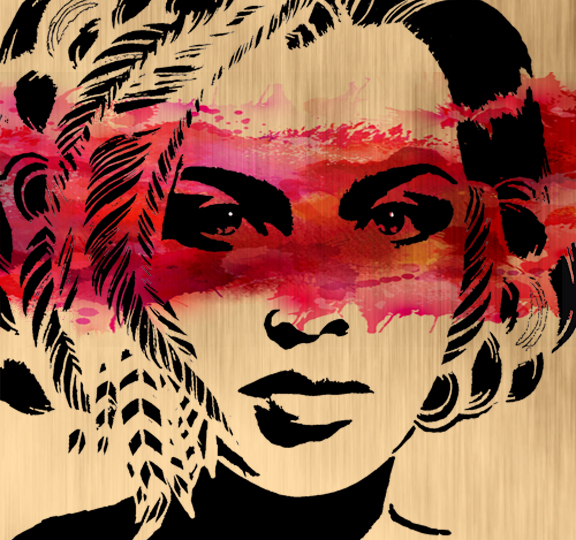
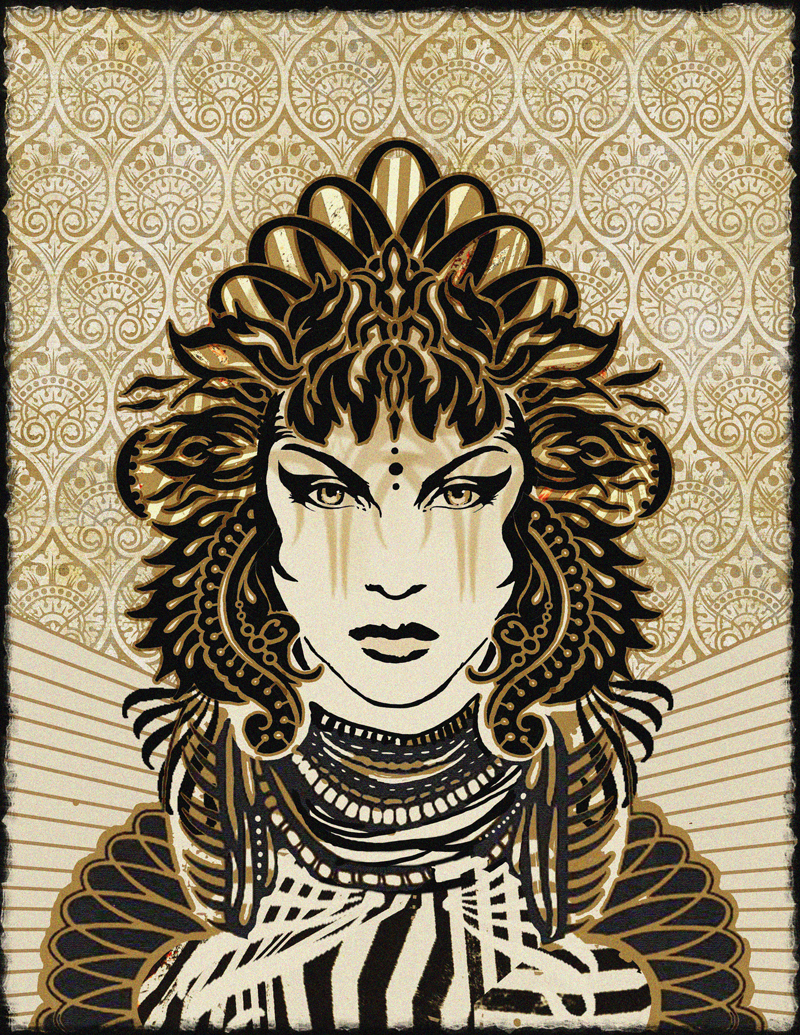

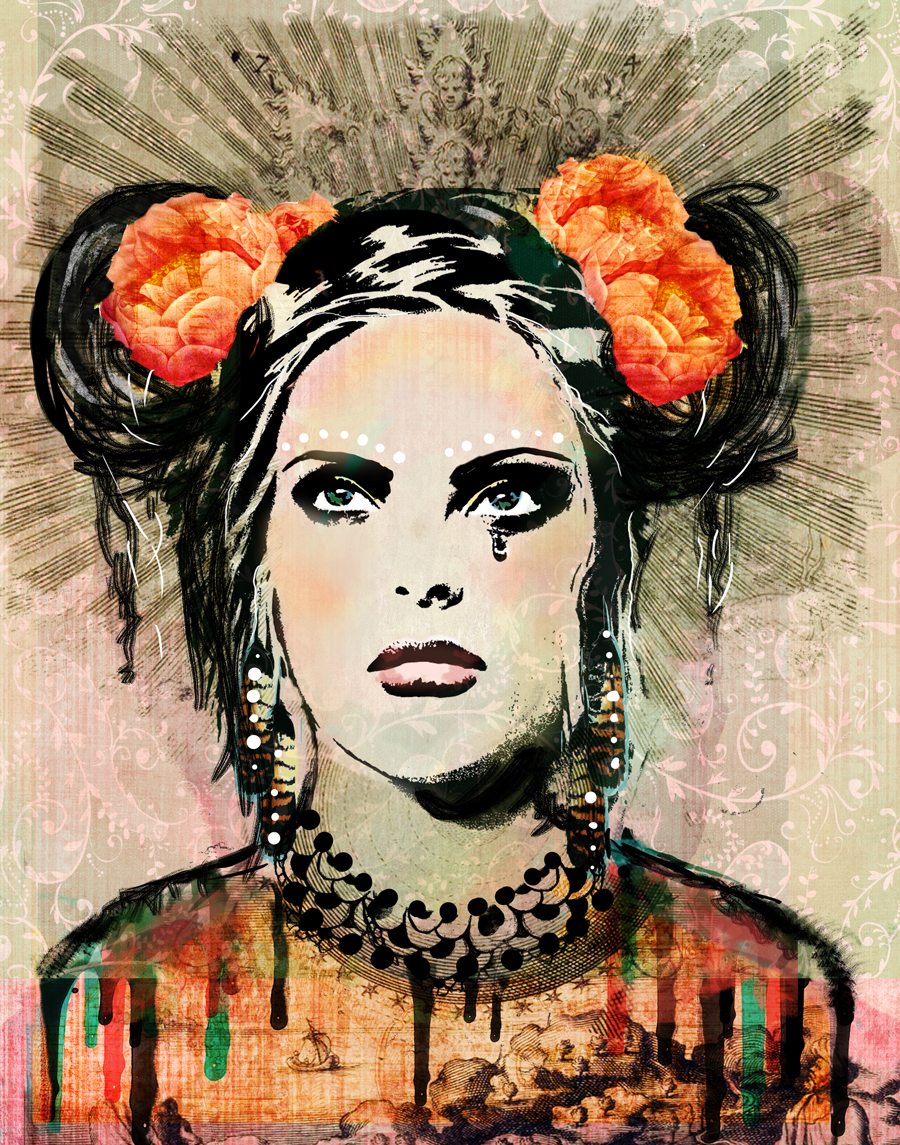
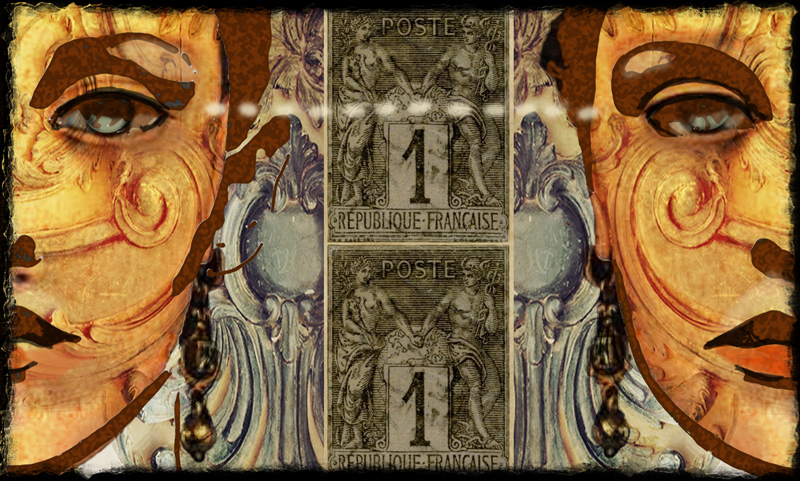
Using Stencils to Create Fabulous Portraits - Tutorial
Place your stencil on your page, make sure you leave plenty of room around it to add more details later. (I am using the Mystique Stencil here).
Now grab your pencil and start filling in the stencil. As you can see in the photo I'm not being too fussy about it....you can take more time with this if you wish, but you really don't need to.
Now take your blending stump and start blending. This will smooth out the pencil marks quite quickly.
Remove the stencil and this is more or less what you'll see on your page.
Now go back into your drawing with your pencil, you are going to fill in the missing bits of the gace. The line and shading breaks that you see in the lips and eyes....fill them in. This is an important step to transform the look of the work from an obvious stencil to more of an actual drawing.
Once you are done filling in the line breaks it's time to add a little more emphasis. Here I have gone over the eye lid with my pencil to darken the line as well as add the pupil to the eye.
Time to go back into the drawing with your blending stump. Soften the lines by blending into the lips, smoothing the eyelids and brow line and here's a BIG secret (so shhhhh, don't tell anyone)...by now your blending stump is covered in graphite dust...you can use it to add subtle shading wherever you want. Here I've gone in with just the blending stump to add more shadows around the nose and eye lid.
Using your pencil go ahead and draw in the shape of the face, the hairline and neck. Draw lightly so that you can go back and easily erase and modify your lines until you are happy with what you've drawn.
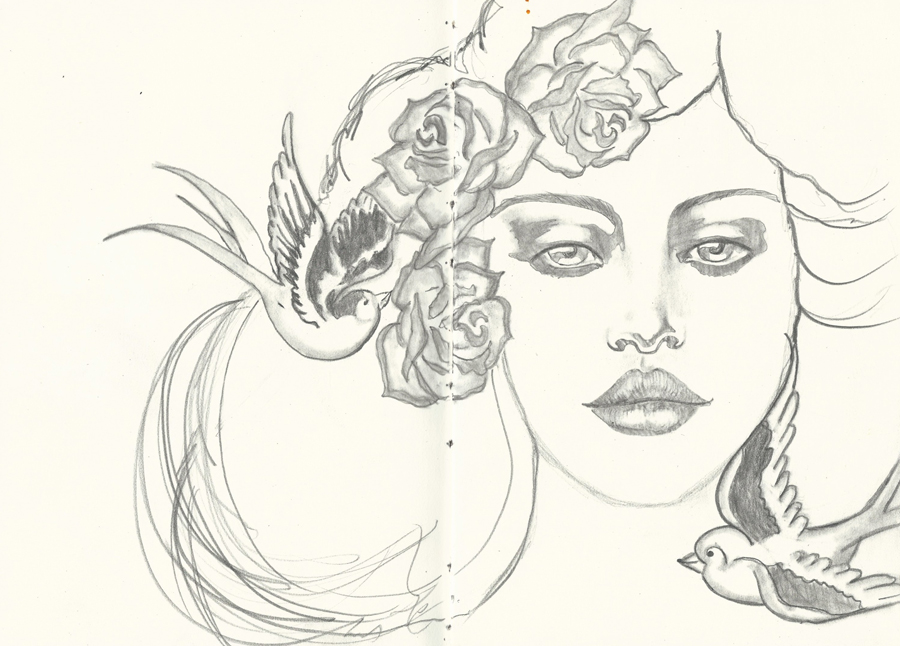
The finishing touches...here I've gone back and repeated all the techniques we've just covered but using my A Rose by any other name, A little Birdie told me and Free as a Bird stencils to add additional details into the headdress and portrait.
Here's what the final portrait looks like.
In Your Face Workshops - Mixed Media Faces Using Stencils!
I've had so many requests from students asking how I get all of the effects that I do with my face stencils (available at StencilGirl and in the workshops) that I decided to create a one class to go through all of the various techniques.
Here's where you find the "In Your Face" Workshops:
Random Arts - Saluda, NC - May 21st
Art is You - Minneapolis, MN - Sep 17-20
Art is You - Stamford, CT - Oct 7-12
Workshop Description:
"Every portrait that is painted with feeling is a portrait of the artist, not the sitter." ~Oscar Wilde
In this fast-paced class we are going to explore a variety of different techniques for creating unique and expressive portraits using stencils. Combining collage, paints, inks, oil pastels and markers you’ll learn all of the subtle tricks you need to create portraits that capture the essence of everything from pop art to dimensional artworks. Truly inspired by many of todays street artists we’ll be creating our engaging portraits through the use of multiple layers of materials as well as layered stencil effects. We’ll be using a pad of mixed media paper for all of our experiments, the best of which will be ready to frame and hang on your wall.


